 THE IDEA:
My 6 year old is really in to owls at the moment. Her Owl Themed Birthday party was loads of fun and that led me, as a good hacker Dad, to play around with some of the popular owl models available on Thingiverse.
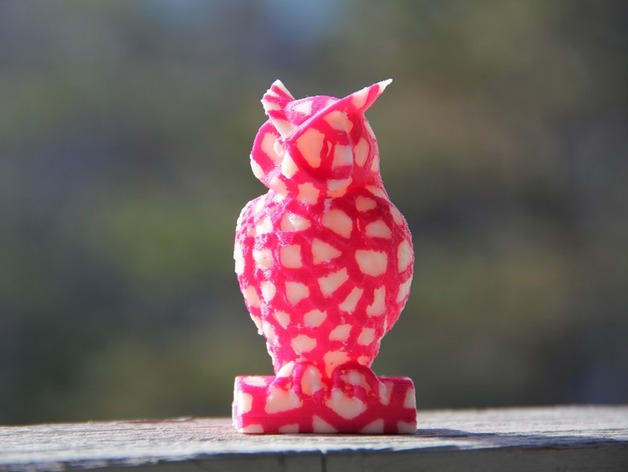
I borrowed the older Makerbot Replicator Dual for the weekend, mainly to print out an Owl Cookie Cutter I made in Sketchup 8 (that’ll be a different post). But after printing out the cookie cutter I found myself replacing a stepper motor and rebuiling the extruder (that hasn’t worked for a year). To celebrate this rebuild I looked for a good dual extrusion print to try. Since I couldn’t find a good owl one, yes we’re still on an owl kick, I remixed our favorite owl from Tom Cushwa using a Voronoi pattern.
The files can be found on Thingiverse here.
THE PROCESS:
I started with MeshLab and struggled through the soundless tutorial below. Then I took the result and did some MeshMixer boolean runs to create the two separate .obj files. I finished it all off with a trip to NetFabb’s online file repair tool. The whole process took a whole lot longer than I thought it would but so far the results have been pretty nice for a first go at it. (I am tempted to do a video of the whole thing if anyone would be interested?)

 To edit your profile: Go to the “Settings” tab and then click and expand the “Advanced options” . At the bottom you’ll see a “Create Profile” button. Click it and give it a meaningful name.
 These variables are spread through out the miracle.jason settings file so it might be easier to edit with a program like