The setup of the studio space for doing the video instruction has taken much more time than expected. The green screen setup that I was planning on didn’t work in my home office and I didn’t have a quiet enough space at school (work) so I ended up in our basement!
The green sheet I purchased only really worked well once it was put on a frame which I made out of 2 X 4’s and was lit properly. I thought this would be easier but since I ended up setting up in the basement the lighting wasn’t what I expected.
Finding the right cameras with the required features also ended up being a challenge. Although I was planning to use a high end SLR camera to capture the footage, the pass through video didn’t remove the focus box for face detection. There was a trick to make this work, which was to mount the camera upside down, but in the end a new higher level webcam worked out well enough to capture my project.
In the end it might turn out to be the best location and can remained setup for future videos.
With a number of outlines in hand, on the computer, I am ready to start laying out a more detailed framework for the course. The grading rubrics for each of the projects have been roughed out and will need to be reviewed again as the final project descriptions are created.
Working to align all the standards from both CollegeBoard Art AP and the Computer Science Teacher Association (CSTA) has been a challenge but I believe the final weekly projects should meet they easily. It is still a little difficult to tell without real students to work with in this project.
Up next I need to figure out the “introductions” section of the course to greet and welcome students to the tools they will be using.
This is the start of a series of blog posts for my capstone project by the same name for Empire State College’s masters degree in Learning and Emerging Technologies.
The “Coding for Artists” project has been inspired by my fellow teachers in the Unified Arts department at East Hampton High School and by the work of Dan Shiffman of the ITP at NYU.
This project is meant to be offered as a teaching resource for teachers looking for a 3 week module to enrich their curriculum. A half year (one semester) length elective course will be developed at East Hampton HS later this school year.
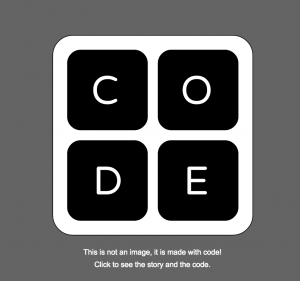
Code Is Everywhere. Or at least I see it everywhere.
I recently gave out some nice Code.org stickers to my higher level coding students and while going through some of the particulars of how to make rounded rectangle shapes in Processing’s p5.js framework when I realized we were making the base elements of the code.org logo.
This is a pretty basic version that we played with in openProcessing before we moved it to our own hosting to import a font with rounded edges.
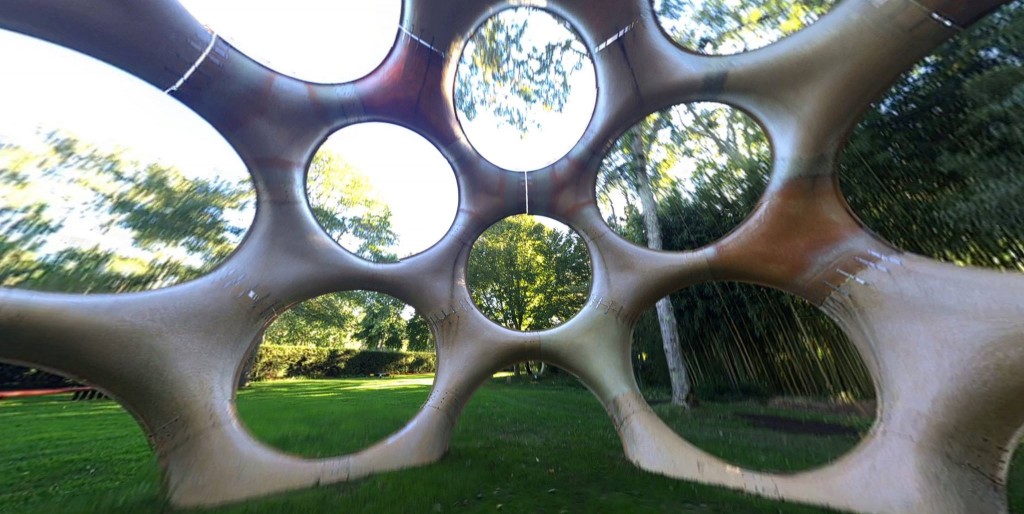
This is photo bubble is from the inside of one of the Long House Reserver’s permanent sculptures.
Photo bubbles like this are nothing new, they have been been around for probably close to 20 years, but the ease of use of the Bubbli iPhone app is pretty nice. Apple had their version of a photo bubble with Quicktime VR that allowed you to do it and stitch photos together but it was tricky and very time consuming. Microsoft had an iPhone app a few years ago called Photosynth and it was pretty good but didn’t have great support. The Bubbli version has some neat controls and its guided setup is well done and mostly intuitive. The final element that sets Bubbli apart is the addition of captured audio that I didn’t use because of nearby noise but could make many photo bubbles more engaging. It’s worth a try the next time you’re in an interesting fairly static location without to many moving elements.
Long House Reserve – Buckminster Fuller inspired sculpture
Titled: Fly’s Eye Dome, 1998
Designed by Buckminster Fuller
Produced by John Kuhtik
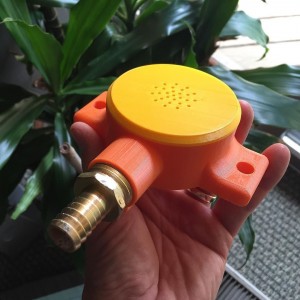
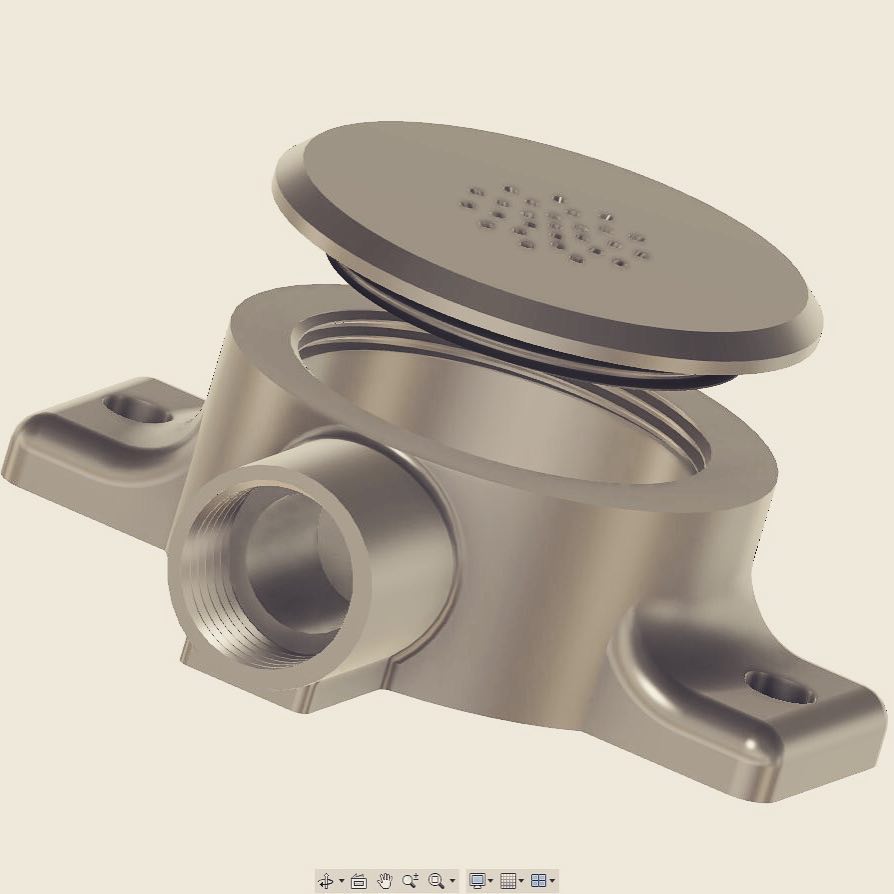
This is part of a late night crazy idea to make a 3D Printed Sprinkler that had customizable interchangeable screw-on plates that give different patterns. Also it was something fun to make with my new budding Fusion 360 skills.
Automatically posted from Instagram via IFTTT: http://ift.tt/2aUSWkz
Don’t like the spray pattern? Just whip up a new one and screw it in!
Uses a American garden hose thread (GHT) and designed for #3dprinting #fusion360 #neverTooOld to run through a #sprinkler or jump in a pile of Fall leaves.
Ah to be Featured! (it totally made my week) “It was all part of the quest (to be featured) and now that the popularity ride is over it only leaves me wanting more.”
The idea of creating something that could be a “hit” on Thingiverse has been a frequent topic of conversation in the 3D Modeling and Fabrication classes I’ve taught for the past two years. With so much talent on Thingiverse I feel quite lucky to have my 3D Geared Heart featured.
I continue to find it interesting to hear the challenges that some folks have had and the reaction to the model when it works as planned.
The model was meant from the very beginning to be an easy single print (print in place) design that required no support or raft removal. We also wanted it to be something that had moving parts and wasn’t too large or time consuming to print.
Using the “standard” settings on a Makerbot or Ultimaker it usually take only an hour to print and should come off the build plate with moving gears.
Many people have thanked me for sharing my design and some of asked to use it for different purposes. The feedback from the community has been nearly all positive and in some cases touching.
Comment: Thank you for a great design. I run a small charity in the UK, one of the issues is cardiac problems. So I have printed red with white gears which is our charity colours. Our members love them. As do the cardiac staff at the local hospital.
Although there were lots of folks saying nice things it is obvious that there are still going to be people out there that are looking to make a buck off your model. It only took 9 Days until I found it showing up on a website in India being sold for 320 Rs. (~$5USD) .
This isn’t the first time something like this has happened to one of my designs. The day I posted the heart on Thingiverse I asked a co-worker if he wanted to print one by which he quickly quipped, “no, I’ll just buy it on ebay next week.”
DATA – the ups and downs of internet popularity
From a data and statistics standpoint it is interesting to look at the climb and fall of the “Featured” items in relation clearly less popular designs. It would be really interesting to be able to see where most of the traffic is coming from and when are the most popular times of the week. Even if that isn’t available it is still nice to get this view:
A Few Final Thoughts…
Talking with people in person I find that most folks quickly get around to the question of “How much money did you make on your design?” Trying to explain that my model has been downloaded over 11,000 (update: 18,000) times and that I didn’t expect any money from it when posting it is something that makes folks question the whole Open Source/Maker movement that I often talk about in the Innovation Lab.
THE IDEA:
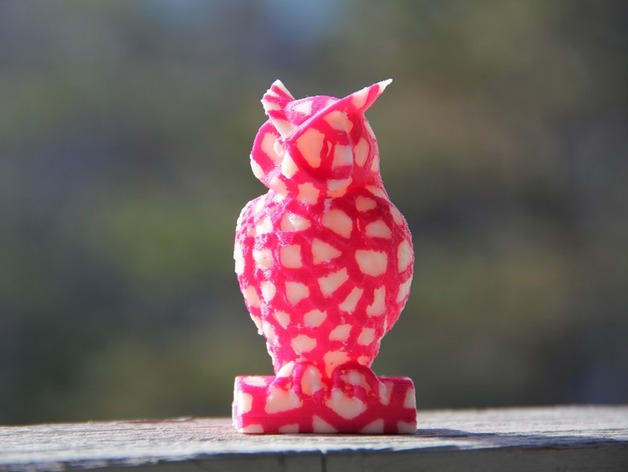
My 6 year old is really in to owls at the moment. Her Owl Themed Birthday party was loads of fun and that led me, as a good hacker Dad, to play around with some of the popular owl models available on Thingiverse.
I borrowed the older Makerbot Replicator Dual for the weekend, mainly to print out an Owl Cookie Cutter I made in Sketchup 8 (that’ll be a different post). But after printing out the cookie cutter I found myself replacing a stepper motor and rebuiling the extruder (that hasn’t worked for a year). To celebrate this rebuild I looked for a good dual extrusion print to try. Since I couldn’t find a good owl one, yes we’re still on an owl kick, I remixed our favorite owl from Tom Cushwa using a Voronoi pattern.
THE PROCESS:
I started with MeshLab and struggled through the soundless tutorial below. Then I took the result and did some MeshMixer boolean runs to create the two separate .obj files. I finished it all off with a trip to NetFabb’s online file repair tool. The whole process took a whole lot longer than I thought it would but so far the results have been pretty nice for a first go at it. (I am tempted to do a video of the whole thing if anyone would be interested?)


 Although there were lots of folks saying nice things it is obvious that there are still going to be people out there that are looking to make a buck off your model. It only took 9 Days until I found it showing up on a website in India
 THE IDEA: